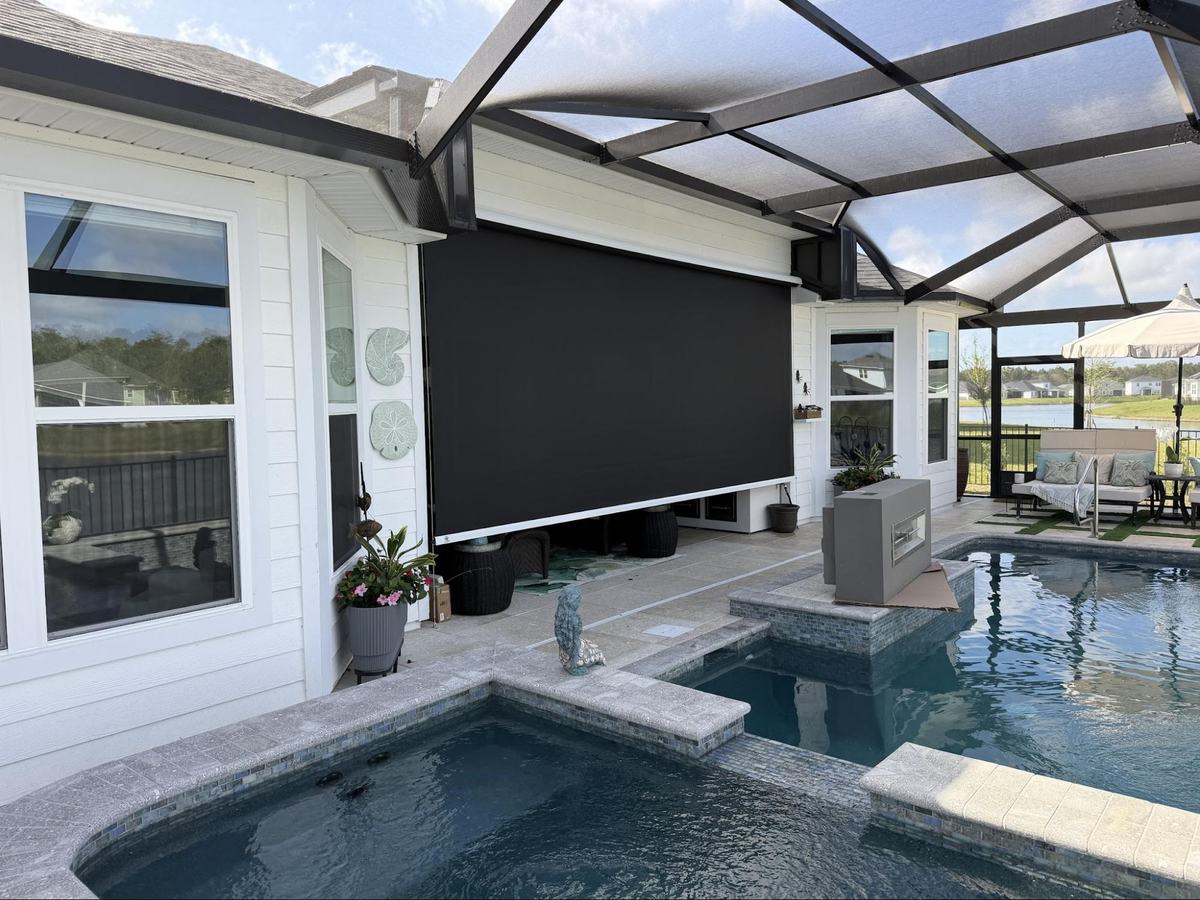
What to Expect During Cheetah Screen’s Professional Retractable Screen Installation: A Homeowner’s Handy Guide
If you’ve been thinking about adding retractable motorized screens to your home, you’ve probably already pictured the payoff — cool evenings on the porch without the bugs, fresh air moving through the house on a nice afternoon, outdoor spaces that actually get used. What’s harder to picture is the retractable screen installation itself. How long does it take? What do you need to do before the crew shows up? What happens if something unexpected comes up mid-project? Those are the questions we hear most often, and this guide answers all of them.
Cheetah Screens is here to walk you through how to get your home ready, what the day looks like from start to finish, and the specific steps our certified technicians follow. Read this once, and you’ll know exactly what to expect — no guesswork, no surprises.
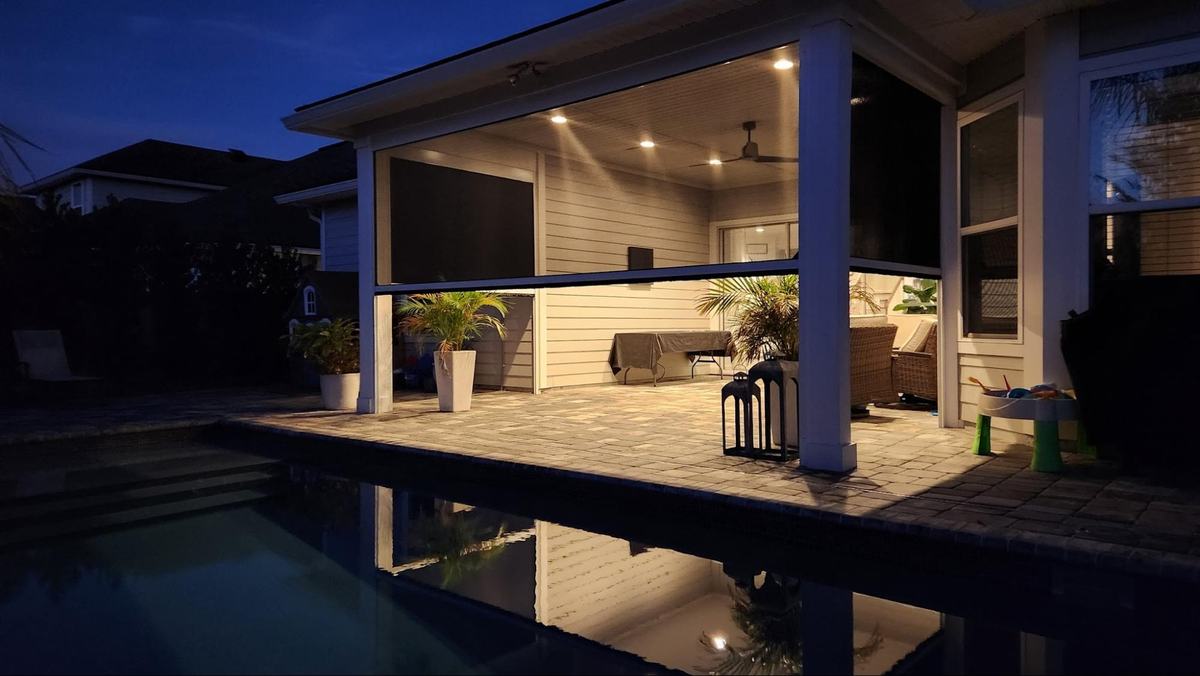
Retractable screens on covered paver patio near a swimming pool at night.
Getting Ready Before the Crew Arrives
There’s not a long to-do list on your end — just a handful of things that make a real difference in how smoothly the day goes. None of it takes more than a few minutes, but skipping any of it can slow the crew down or create avoidable hassles.
- Keep kids and pets out of the work zone. The team will be moving equipment, using power tools, and working near doorways and openings throughout the day. A clear, distraction-free area means faster work and fewer safety risks.
- Move furniture and anything else close to the installation areas. Patio chairs, planters, rugs, décor — if it’s near a doorway or window where a screen is going in, go ahead and pull it back. The more open the space, the more efficiently the crew can work.
- Locate a power outlet near the work area. Some installations need access to power. Take a quick walk around before the crew arrives so you know where the closest outlet is and can point them right to it.
These three things take maybe twenty minutes combined, but they can cut real time off the install and prevent the kind of last-minute scrambling that throws off a schedule.
How the Installation Timeline Works
“How long is this going to take?” is the first thing most homeowners ask. The honest answer is that it depends — but not in a frustrating, non-committal way. There are a few specific variables that drive the timeline, and once we know the details of your project, we can give you a tight estimate.
For most residential projects, plan on somewhere between four hours and a full day. Single-opening installs on standard doorways are on the shorter end. Multiple large openings, custom configurations, or homes with architectural quirks take longer. We’ll give you a realistic window when you book — not just a generic estimate.
Most installs wrap up in four to eight hours. The number of screens, the size of the openings, and any site-specific conditions all play into it. Your project manager will walk through those details during the initial evaluation and give you a timeline you can plan around.
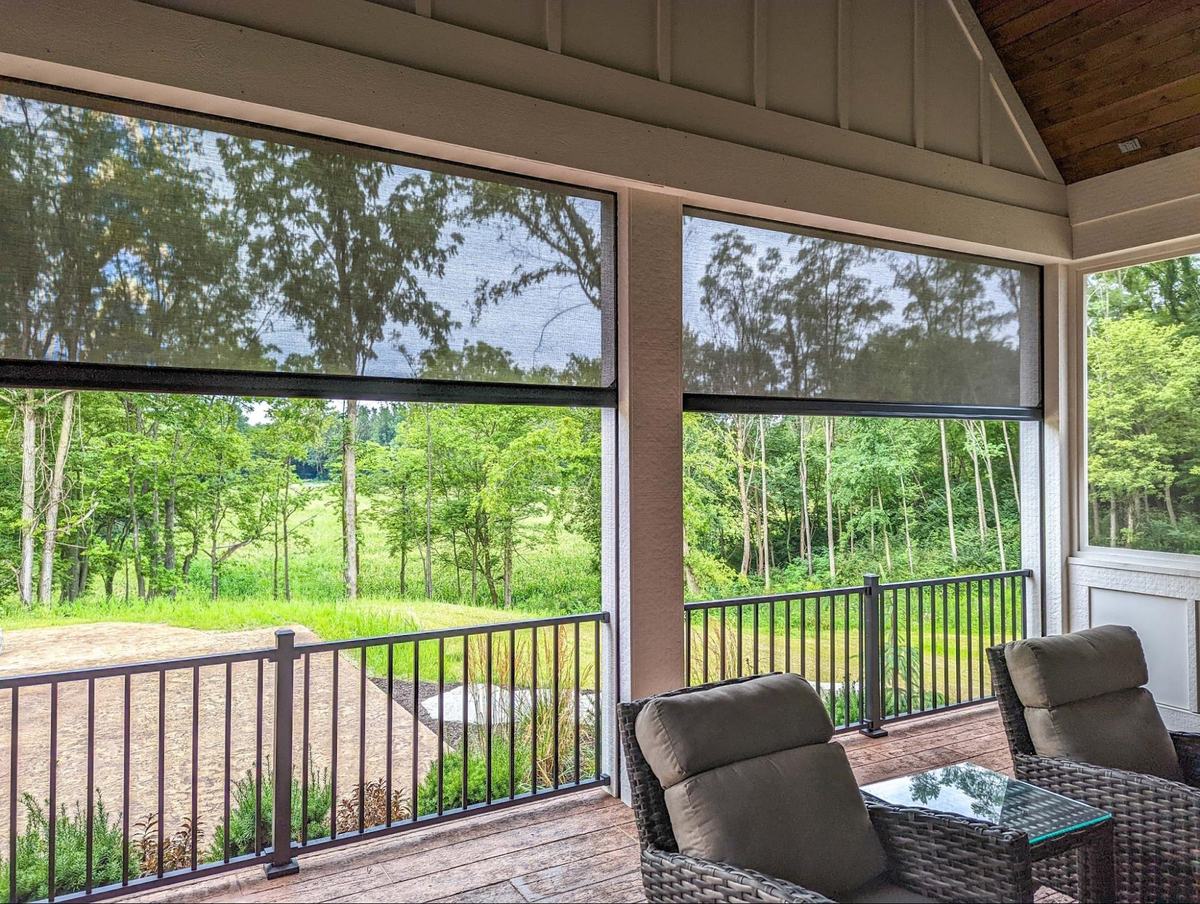
Interior view from a screened porch with retractable automated screens overlooking natural backyard
How Do We Work Around Your Schedule?
We know you can’t always take a random day off on short notice. Our scheduling team works with you to find a date and arrival window that fits your life. We also recommend being home during the install — not because we need you hovering, but because it’s the easiest way to get any questions answered on the spot and to get a full walkthrough of your screens before we leave.
When Things Don’t Go Exactly as Planned
Most installations go exactly as expected. But occasionally something comes up — a framing surprise inside the wall, weather that makes outdoor work impractical, or an opening that’s slightly out of square in a way that didn’t show up in the initial assessment. Here’s how we handle it.
- Structural surprises: Older homes, especially, can have framing that doesn’t match standard dimensions, or surfaces that need extra reinforcement before brackets go in. Our crew carries hardware for most of these situations and can handle them without a return visit.
- Weather holds: High winds or heavy rain can affect outdoor portions of the job. If the forecast looks bad, we’ll reach out ahead of time to talk through options. Rescheduling is always at no cost to you.
Whatever comes up, our technicians will talk you through it before making any decisions. You won’t be left wondering what’s happening in your own home.
Taking Care of Your Screens After Installation
Once the crew packs up, your screens are ready to use. A few simple habits will keep them working well and looking good for the long haul.
- Get the full operating walkthrough before the technicians leave. Ask them to show you how your specific screens open, close, and lock. Takes five minutes and saves a lot of frustration later.
- Clean them regularly with a soft brush or a gentle rinse. Skip the pressure washer and harsh chemicals — both can break down the mesh material over time. Once or twice a year, check that the tracks are clear and the screen rolls and retracts without resistance.
- Call us if something seems off. A screen that isn’t retracting smoothly, a track that sounds wrong, something that just doesn’t look right? Reach out. Small problems caught early are almost always simple fixes.
Retractable screens are built to last. A little routine attention is all it takes to get the full life out of them — and every install is backed by our limited lifetime workmanship warranty.
What Our Professional Installation Process Involves
There’s a reason DIY retractable screen installs often end up back at the local hardware store. A professional installation is a deliberate, sequenced process that starts before the crew ever pulls up to your house. The steps below are what make the difference between screens that work perfectly and ones that need constant adjustment.
- Site evaluation first: Before a single screen gets ordered, we visit to assess the openings, take exact measurements, and flag anything that could affect fit or function. Getting this right upfront means no gaps, no binding tracks, no expensive adjustments after the fact.
- Environmental placement: Sun angle, prevailing wind direction, and how you actually use the space all factor into where and how screens get positioned. We’re not just drilling wherever it’s easiest — we’re making sure the screens solve the problem you bought them to solve.
- Anticipating hidden complications: Experienced installers know where problems like to hide inside wall cavities, behind trim, and in non-standard framing. Coming prepared means a complication mid-install doesn’t leave you with a half-finished job.
Why the Site Evaluation Matters So Much
Factory measurements must be exact. Even a small variance, such as a fraction of an inch in width or height, can mean a screen that doesn’t close flush, leaves gaps around the edges, or puts undue stress on the motor or spring mechanism. During the site evaluation, we check doorway dimensions, account for trim depth, and confirm the mounting surface can handle the bracket load. That precision is what separates a clean install from one that creates headaches down the road.
Remember, our professional installation unlocks full warranty coverage. A DIY installation could void the manufacturer’s warranty. That coverage is meaningful financial protection over the life of the product. Additionally, with Cheetah Screens, you get the added benefit of a limited lifetime workmanship warranty for your peace of mind.
How to Prepare for Installation Day
Your checklist is short. Here it is in full — six things, none of them hard.
A little preparation helps the installation move smoothly and keeps the crew focused on getting your project completed efficiently.
Ready To Get Started?
Have questions or ready to schedule? Give us a call at (904) 754-7826, or reach out through our easy online form. Someone from our team will get back to you quickly.